How To Create A Variable Product

GPointmarket
Last Update 4 jaar geleden
Creating a variable product can be a tricky thing if you haven’t done it before. This guide will look to take you step-by-step through the process of turning your single product into a variable one.
Step 1: Changing Your Product’s Type
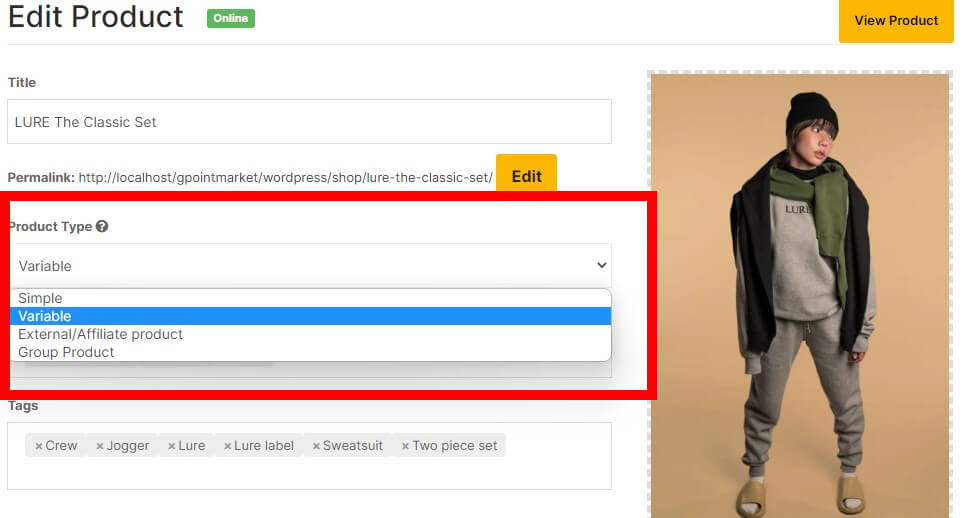
This is not an option that you have when you first create your product. So, if you haven’t created the product that you want to turn into a variable product yet, do that first, making sure to add all the images you are looking to use. If you have already created the item you want to turn into a variable product, go to your Products Tab and edit the product by hovering over the name and clicking “Edit”
Now, with your product already created, you will see an input box titled “Product Type.” Here is where you will change your product type from “Single” to “Variable”
Step 2: Adding Attributes

Now that your product is a variable product, you will find a section further down your page called “Attribute and Variation.” Some examples of product attributes are sizing (S,M,L,XL) and color. In this example, we want to create a variable sweater where the customer can change the color of the sweater and its size. To do this, we need to add two variables: one called size and the other called color.
1. If Color isn’t an option in the drop-down menu, select “Custom Attribute” and click the “Add Attribute” button.
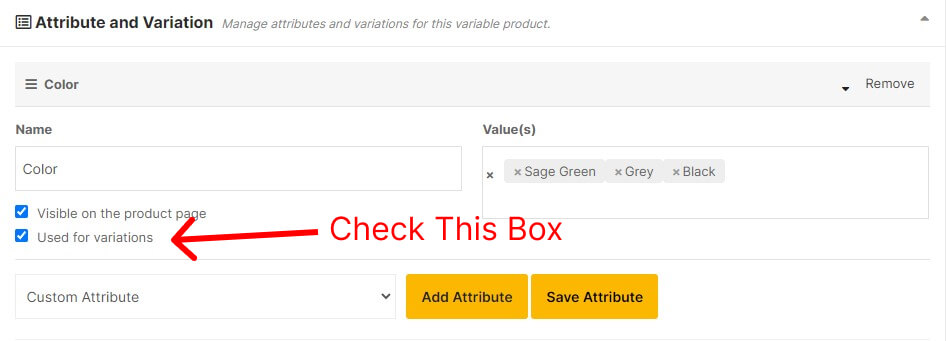
2. Insert the name of the attribute (“Color” in this example)
3. Insert the attribute’s different values using a vertical bar”|” to add them (“Sage Green | Grey | Black |” in this example)
4. Check the box that says “Used for Variations”
5. Click “Save Attribute”
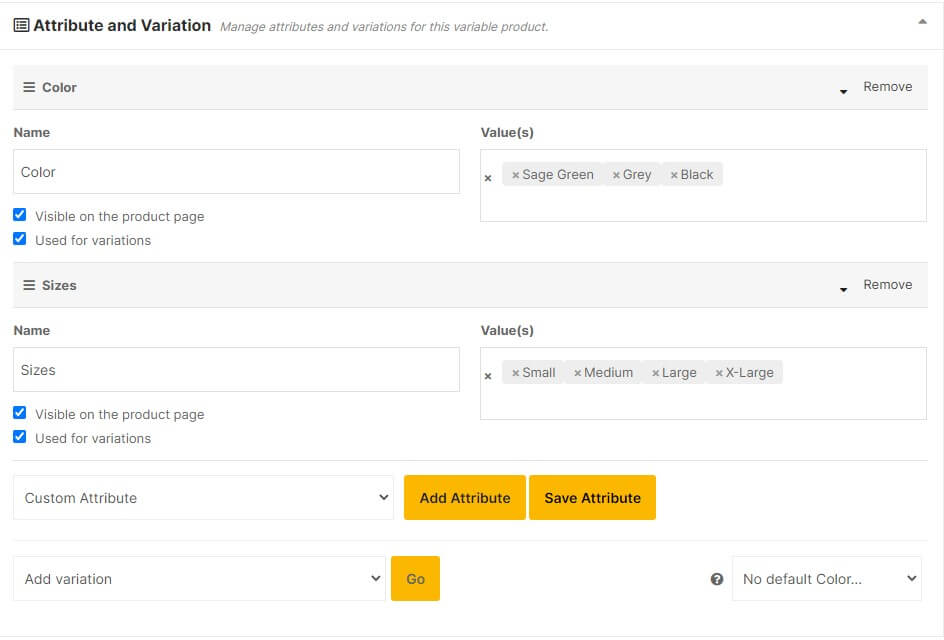
Repeat this process till you have all the attributes you need. For this example, our “Attribute and Variation” section will look like this:
Step 3: Creating Variations From Attributes
Now that we have all of our attributes created, we can go ahead and create all the variations by selecting “Create variations from all attributes” and clicking “Go”

Tip: If you don’t need to make variations of every combination of the attributes, you can instead select “Add variation” and click “Go”
Step 4: Editing Variations
When editing variations, you can either edit them all at once or individually. We will take you through each option.Editing an individual variation
Editing an individual variation
This is useful for changing data that is going to be different for every variation such as its inventory or picture. To edit an individual variation, click on the variation you would like to edit. This will display all the different data that can be changed
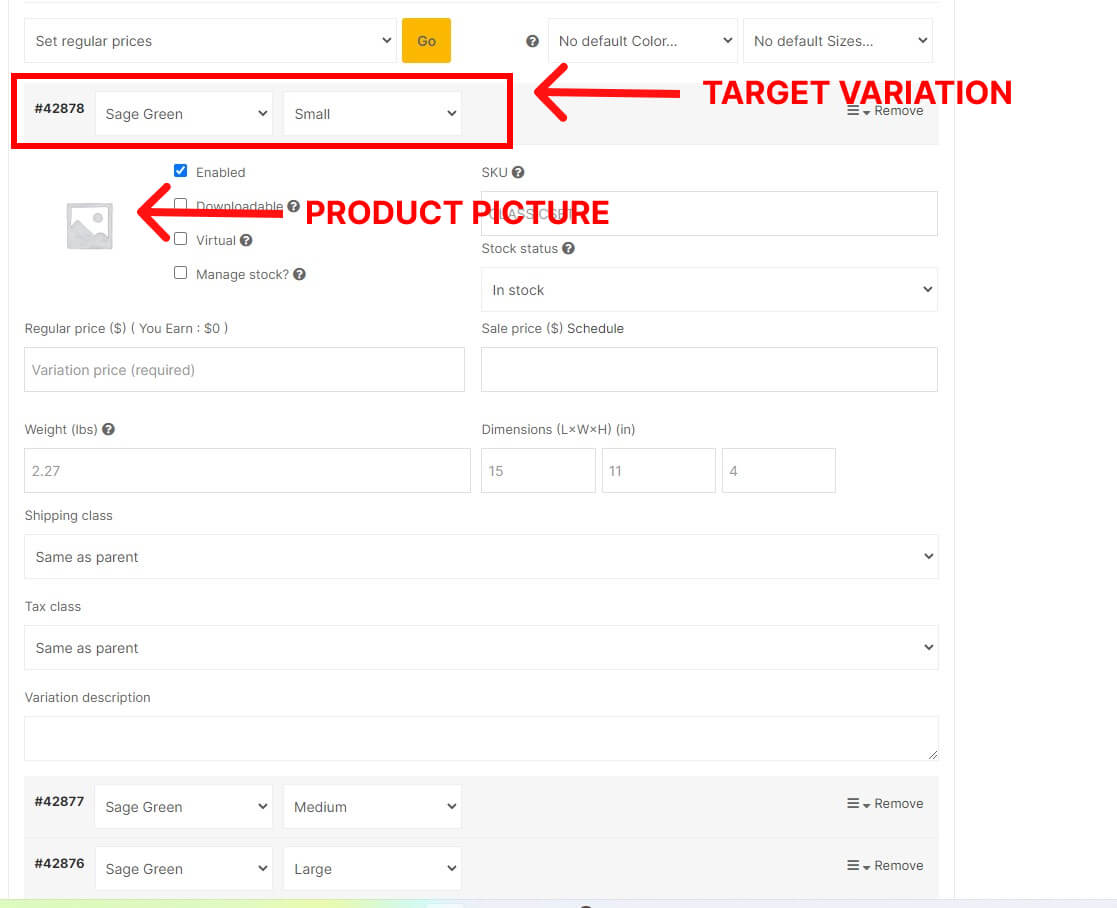
Be sure to click “Save Variations” once you are satisfied with your updated values.
Bulk editing your variation
Data that doesn’t change from variation to variation can be edited in bulk. To do this, select from the drop down menu the corresponding data you would like to edit and click “Go”
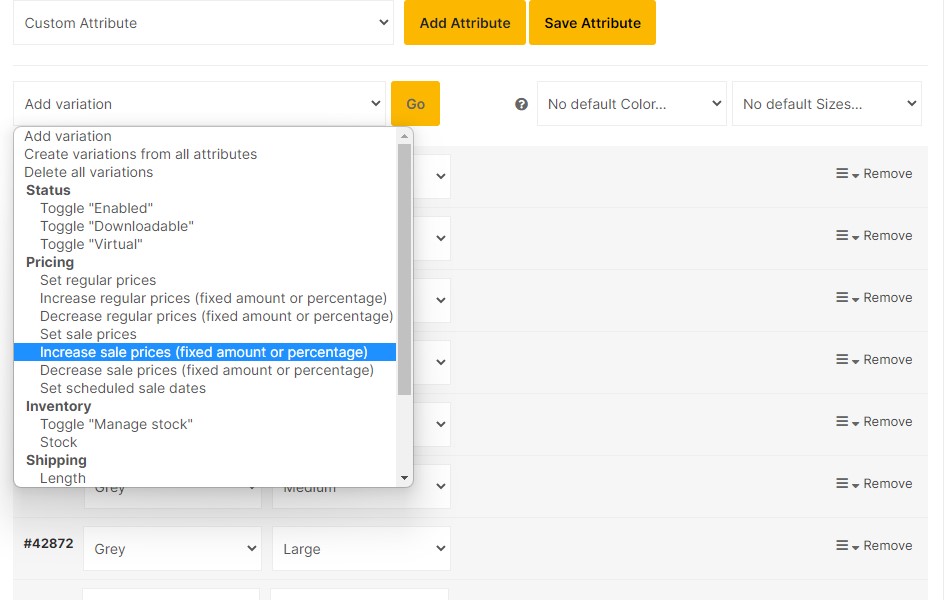
You will be greeted by a prompt to finalize the value of what you would like to edit. Be sure to click “Save Variations” once you are satisfied with the updated values.
Step 5: Save Your Product
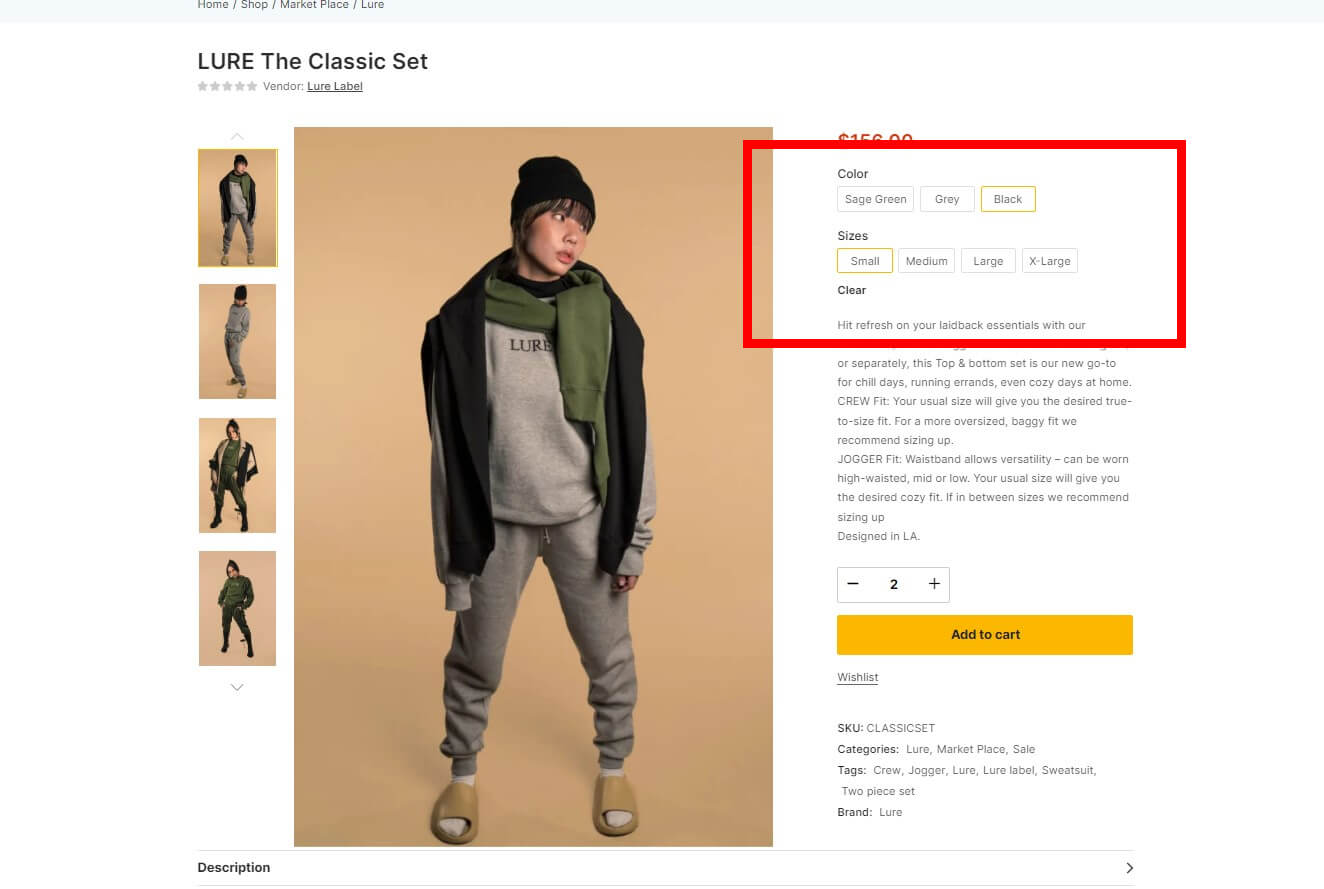
Once you are satisfied with all the variations you have made and all the values you have added to them. Scroll down to the bottom of the page and click “Save Product.” Now, when you view your product, you will find the variations that the customer can choose from on the right side of the picture.